Friday, March 4, 2011
I've been cheating on my knitting needles...
I haven't washed it yet. I took pictures before that, so if it all went to hell in a handbasket in the washing machine I would have photographic evidence that it looked nice at one point!
I enjoyed the whole process so much! I have definitely found a new crafty love.
Wednesday, December 8, 2010
Finished: Delancey Cardigan/WIP: Weekend Getaway

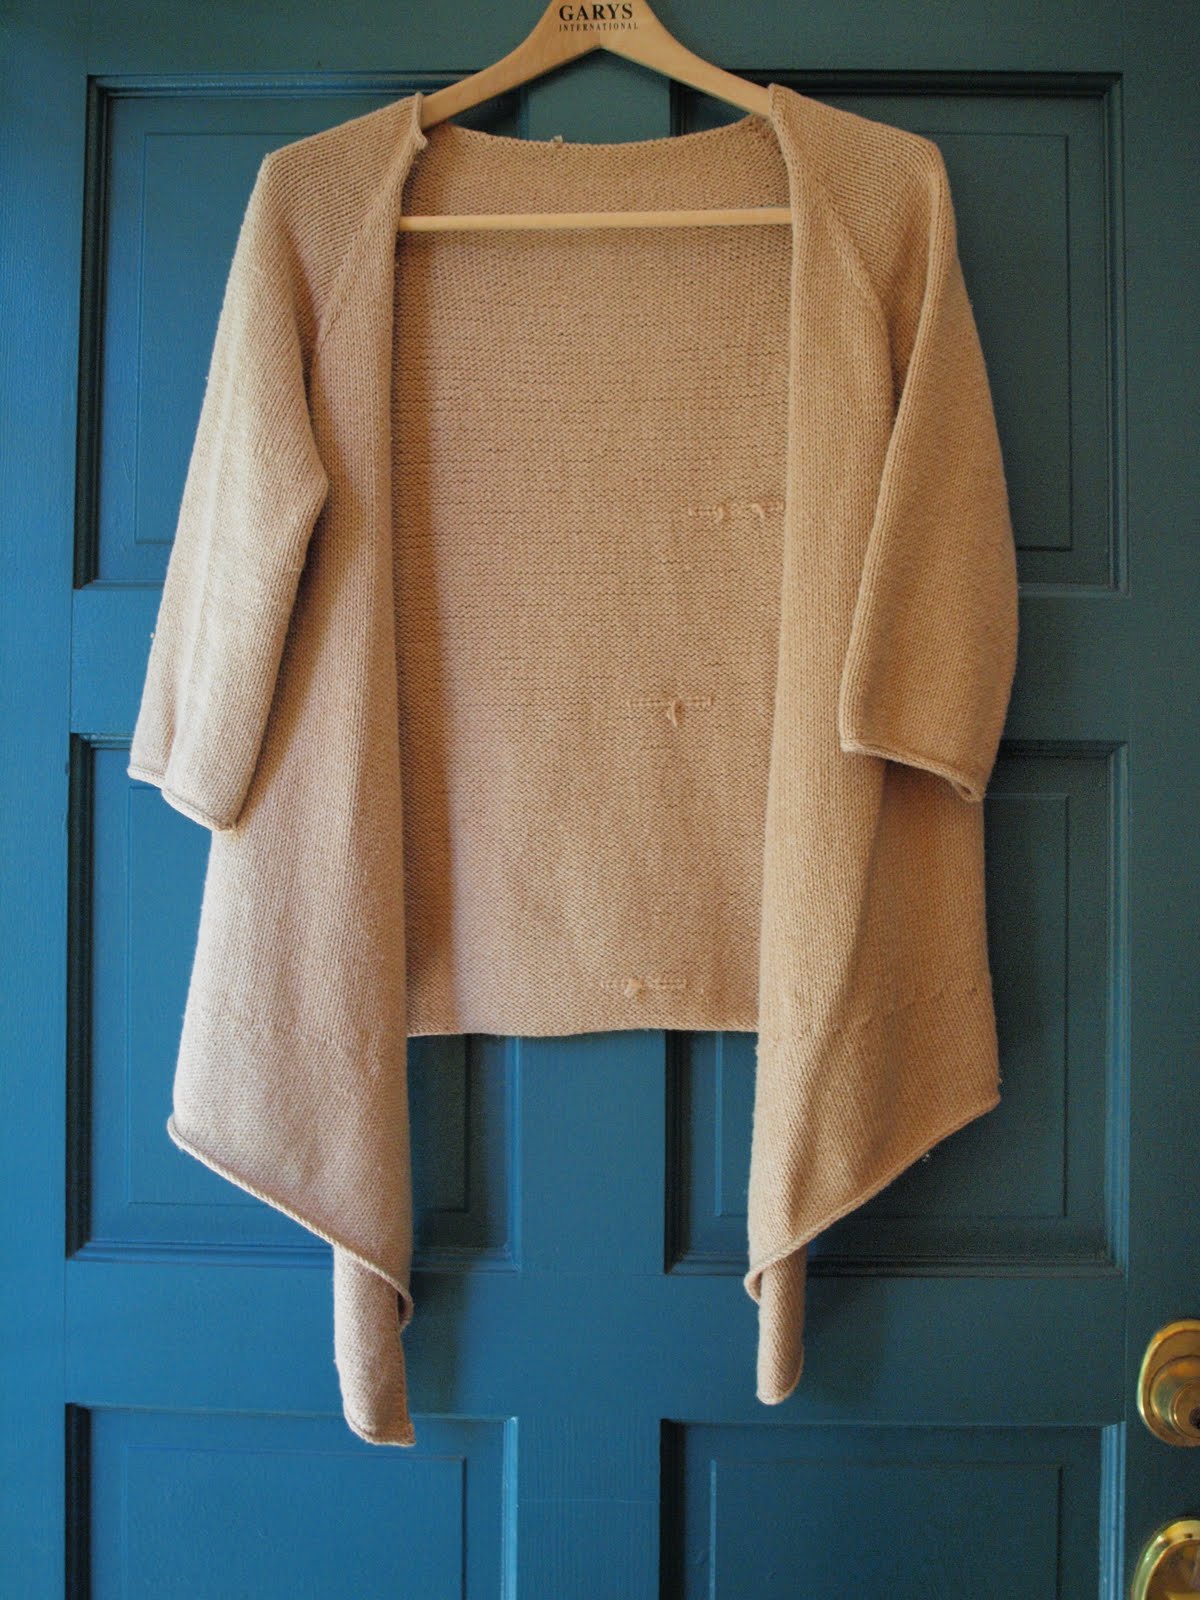
The pattern is by Alexis Winslow (just a tip: it can be purchased through the Knit Picks site for a few bucks less than the Ravelry download costs), and I'd say it's a great pattern in every way. If you get gauge, you're off and running since the pattern is very specific and clear for row-by-row instructions. I mentioned my short row problems earlier--the pattern doesn't specify *how* to do some things, just that you need to do them, so I'd say it's not a complete beginner pattern, though. It's totally seamless, so if you like that sort of thing, this is a perfect cardigan!
I used my go-to yarn, Knit Picks Swish DK. I love this yarn--it's soft, washable, and comes in beautiful colors. When it's knit at more of a worsted gauge, the fabric is so light and drapy, yet snuggly too! The colors in Delancey are Beach Glass, the perfect greeny-turquoise, and Pampas Heather, a surprisingly interesting and complex neutral. I would call it green, but as you can see, bronze buttons look like they were made for it:

In that photo you can also see the slight fuzzing on the sleeve that happens with wear--I've been wearing this a ton! Usually I'd take a sweater shaver to it, but I thought someone might be interested in what the yarn looks like after a few wearings.
One thing I am not too happy about is that since this is knit at 18 sts/4 in with DK yarn, it's pretty loose, and my purse keeps catching on it! I've had to carefully work several snags back into the sweater.
Anyway, the fit is really nice. I made the 36" size, which matches my bust size with zero ease and has a few inches of negative ease on the hip--the right choice for this pattern, I would say. It's very stretchy because of the diagonal construction. After wearing it a bit, I ended up sewing down the back of the shawl collar because it wouldn't stay folded properly. Once I did, the front of the collar looked perfect, so I'd recommend doing that.

It feels good to be done with this, because I sort of fell out of love with it as I went along. I've realized that I don't have very many "plain" sweaters, the kind I can just throw on with a casual outfit and run to the park. I've got one in the works now that is really just a glorified hoodie--I'll share more about that one later!
For now, though, guess what I will be doing tonight?

(That's the back of the intarsia panel for my mom's Weekend Getaway Satchel...almost done!! I'm really having fun with that project.)
Tuesday, December 7, 2010
Finished: Cinnamon Grace
Cinnamon Grace by Katie Harris (Pattern is on her blog here and is also a free Ravelry download) wasn't finished in two weeks because I kept working on other things, but it really could have been! I used Knit Picks Stroll Tonal in Queen Anne, frogged from my Froot Loop sock. Goodbye, Froot Loop--I hardly knew ye. It was gorgeous in the yarn and I loved the pattern, but it was going to be too tight and I knew it, but I kept going past the heel turn until I could try it on. Yup, too tight.
Rather than start again with the socks I decided to try a scarf--and I'd had my eye on Cinnamon Grace for a while. It's very simple to follow but makes an interesting knit because there are so many different sections of increases and decreases, and then you pick up stitches all along the long edge and do the lace part. It ends with a picot bind-off, which took For.Ev.Er. but I think it was worth it in the end. I didn't get out the lace blocking wires for this one, just soaked it then patted it out with my hands, but I still did gain many inches in length and the lace opened up nicely. (Oh my goodness, what a goofy face I have in this picture! It was the only one that was in focus, unfortunately).
This picture shows the color most accurately:
It was funny, I only had to frog a couple of rounds of the sock to finish the bind-off of the scarf, so now I still have a half-finished sock guilting me over in my knitting bag. I am not sure what I am going to do about that yet...maybe turn it into a pair of baby shoes for the gift closet?
Saturday, November 20, 2010
Finished: Honey Cowl and Toasty
So, I cut that project loose and cast on for a second Honey Cowl. My first one [Ravelry project page link] ended up belonging to my daughter, and I've been craving a nice squishy cowl to wear on evening walks so I decided to try again. Just in case anyone wants to use this pattern, it's free from the Madeleinetosh website [pattern link]. It's really a simple, straightforward pattern and gives such a quick result! I used single ply worsted merino wool from 100purewool.com, in the colorway Brown Lilac. It was really perfect for the pattern--the subtle color variation was played up by the slip stitch pattern.

I've seen many beautiful versions on Ravelry in Malabrigo and Madeleinetosh yarns as well. A semi-solid gives the most beautiful result, in my opinion! Anyway, I cast on for the largest size (it's wrapped twice around my neck in these photos), but I only knit about 8 inches instead of the 12 inches called for in the pattern--I used my nifty yarn scale to help me determine when I had approximately 50g left so I could make a matching pair of mitts.
I've enjoyed Leslie Friend's blog for a while (A Friend to Knit With) and I've had her Toasty [Pattern link] pattern in my queue forever, so it was fun to finally make them. I call them my hobo gloves, and they are so warm and snuggly!

The night I finished both of these projects, we went on a walk just before the kids' bedtime. There was just enough nip in the air from the marine layer that rolls in overnight, even 20 minutes from the beach where I live, that I was really glad for my new woolly accessories! (I've really got to teach my husband how to take knitting pictures...the one-armed look is getting repetitive, isn't it?)
Tuesday, October 19, 2010
Finished, I guess: Peak's Island Hood
Oh bummer! I used two different colors of yarn (Patons Classic Wool Winter White on the left, Aran on the right).
Hmmmm...they are both cream colored, so I will just dye the whole thing once I am done and have a beautiful Peak's Island Hood to wear this winter.
Break out the Wilton's food dyes I have been hoarding! I want a nice deep teal, so I used Teal and a bit of Moss Green to tone down the brightness.
Play mad scientist while cooking dinner on the stove just to the right of this little scene. Hey, they are food safe dyes.
Let it cook in the crock pot all evening while I have a lovely chat with one of my dearest friends who joined us for dinner (homemade chicken noodle soup, perfect for this blustery October day). It eventually exhausted all that dye, if you can believe it.
Pull it out, rinse and blot dry. Great color. (It's actually quite a bit more blue than it appears here...late night light doesn't help with photographing this color!)
Um. I still have a two-toned scarf.
So, what have I learned? Paton's Classic Wool in Winter White is muuuuuuch better for taking dye than the Aran color (the Aran was very blotchy and took up much more of the dye than the Winter White did). And dye-ing yarn in the crock pot is a very pleasant way to spend an evening.
Also, I've started another Peak's Island Hood, this time with two matching skeins of already-dyed yarn. :)
Wednesday, September 29, 2010
Finished: City Cape with Bonus WIP Photo!
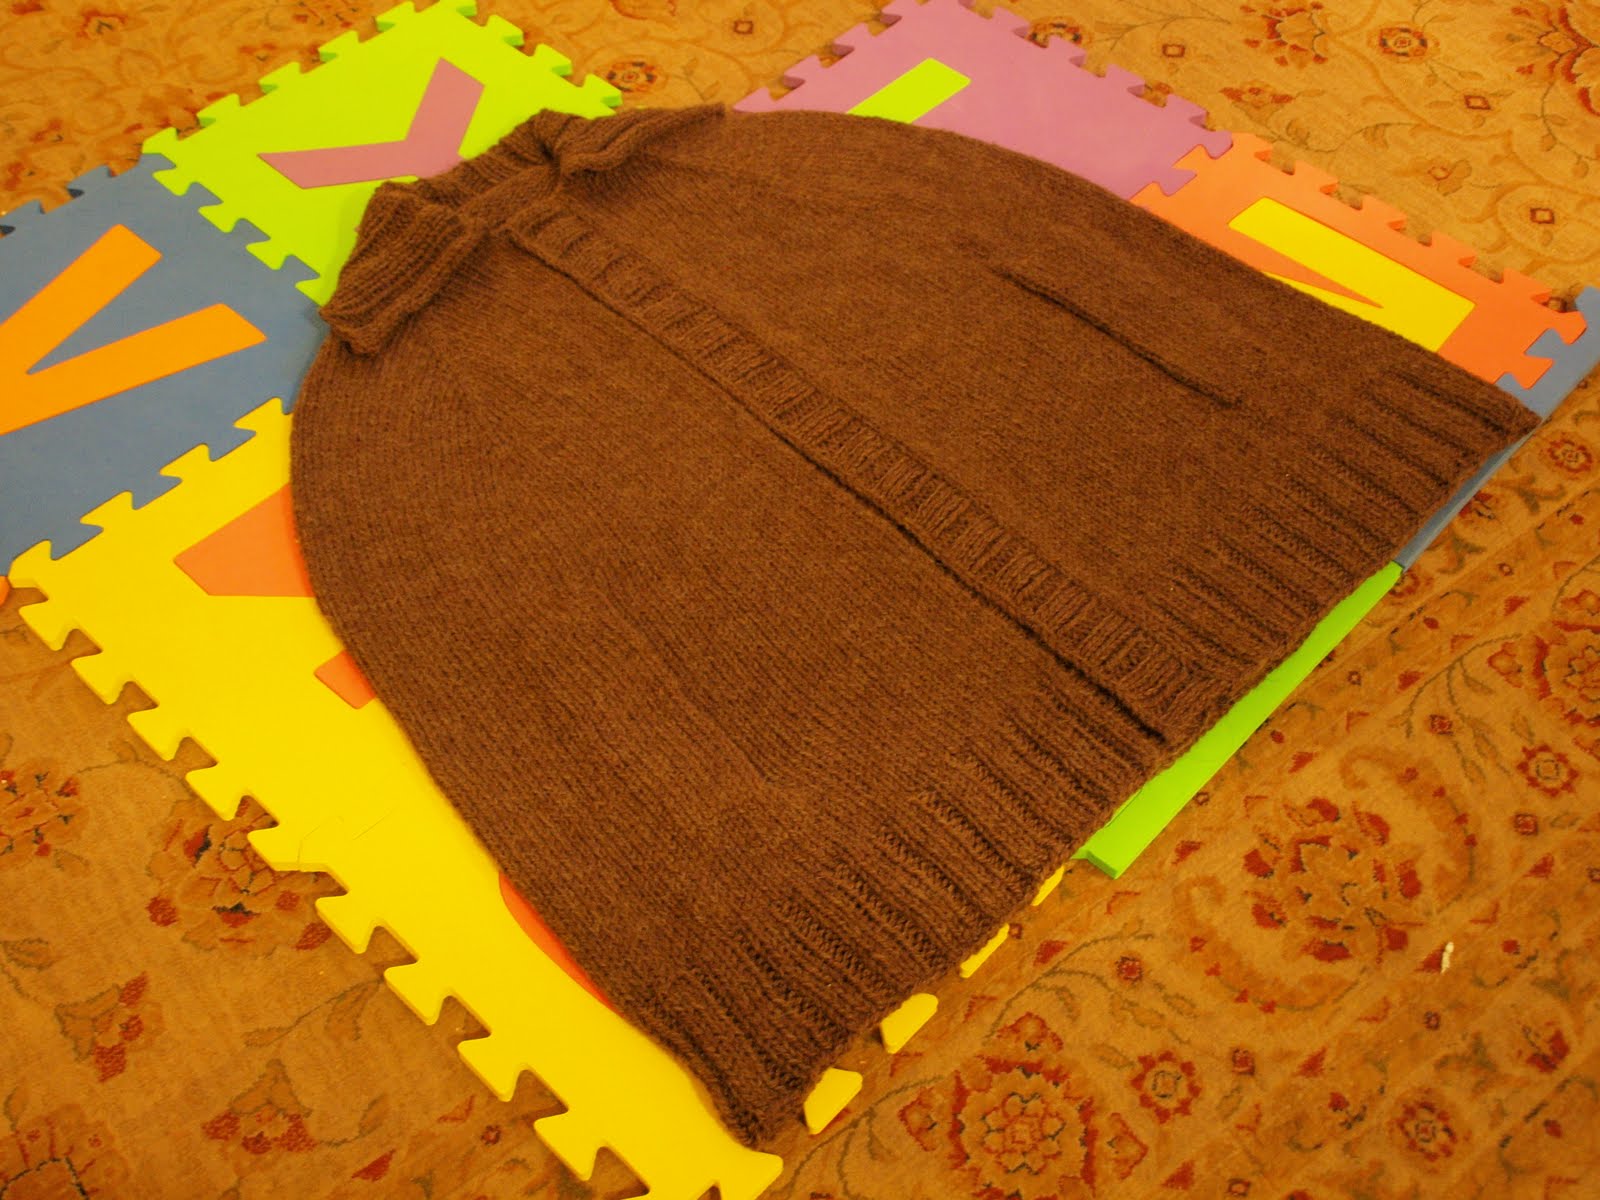
I am pretty much done with the Not-a-Poncho City Cape, from the book Custom Knits by Wendy Bernard. I used Cascade Ecological Wool in color #8087, Coffee. It's a top-down, raglan shaped cape. It took me a little under two skeins, and I added several inches before beginning the arm holes, otherwise the armholes would have started half-way up my biceps. My only other modification was changing the trim to 3 x 2 rib instead of 2 x 2. This is one of the things I really wanted for my Fall/Winter wardrobe, so I'm happy it's done before the weather changes.
I don't know if the news has traveled out of Southern California, but we've been having record heat around here (113 degrees in downtown Los Angeles and at least that hot where I live!) so I just couldn't face stepping outside to model my wooly cape. It's pretty much done, but it's supposed to have ribbon facing on the front bands and around the armholes. I bought some brown and cream with blue accents paisley ribbon at Joann, but it's not exactly what I had in mind--so I might just leave it off until I find the right one. I wanted something a little more earthy, and less of a contrast with the knitted part.
I do like the Cascade Ecological Wool, if only because it's so cheap. I bought five skeins of this stuff on sale at WEBS for $11 a huge skein of heavy worsted/bulky weight yarn (depending on who you ask), and so for $55 I have knit my husband a sweater, this cape, and still have enough left for a short sleeved cardigan for me. This color is a little hairy, but I have a lighter color that isn't quite as bad. From now on I think I will stick to the lighter colors.
Just for fun, here is one of my WIP's, the Delancey Cardigan designed by Alexis Winslow. Delancey is a one-armed lady at the moment...but I love knitting with Knit Picks Swish DK, so I don't even dread the sleeves. The other one will be coming right up! I'm using Beach Glass as the main color, and Pampas Heather as the contrast color. It's a little less punchy than the pattern model, but I was good and used stash yarn.
This is such a well-written pattern, and for once it's designed for taller-than-average girls with long arms! I actually knitted my sleeves SHORTER than the model. Never happened before! I really like the way it's written, with row numbers given in all instructions. It would be difficult to modify the length without completely re-writing the pattern, though, so keep that in mind if you're considering this one. This will hit me around the bottom of my rear, and I am 5'7" tall. Once I get the bottom trim knitted on, it will not have that "V" shape anymore.
Monday, August 23, 2010
Finished: Watershed
This is really quite an ingenious pattern. First, it starts with a provisional cast on and the bottom lace is knit side-to-side, then the bottom front edging is knit onto each side to turn the corner. Then, stitches are picked up along the bottom trim and the main body of the piece is knit, including the front edging, up to the armholes. After splitting for the armholes and knitting the fronts and back separately, they are rejoined and there is raglan shaping, and then the front edging is continued up and knit onto the back stitches to form the collar; then a little trim on the armholes and it's done! Completely, totally seamless. I highly recommend the pattern--though if I were to do it over, I might modify the lace pattern a bit to make it symmetrical. The only modification I made this time around is to add one lace repeat to the body for a tiny bit of extra length.
I used the Cascade 220 Heathers in Alki Beach I had left over from my Creature Comforts Cardi. I'm regretting that choice now because the other color of Cascade 220 I had in my stash was my first choice, but I wasn't sure I had enough--I would have. Hindsight is 20/20 and all that. Oh well, maybe I will have to make another one! It's a very wearable style in the Southern California fall weather. I still have some Alki Beach left, too. Maybe some mitts?
Saturday, August 14, 2010
Finished: Que Sera (Sera!)
Pattern: Que Sera by Kirsten Kapur, size XS with shorter sleeves.
Yarn: 8 skeins Knit Picks Main Line (discontinued), 75% Pima Cotton, 25% Merino Wool, in Ivory
Buttons: Vintage brass dress buttons from Vintage Necessities on Etsy.
Because I'm knitting from stash, when I fall in love with a pattern I have to rummage around and see what I've got that might work. In this case, I had two quantities of cotton-blend yarn: one lot of Knit Picks Main Line in Ivory with enough yardage to make the XS size with truncated sleeves, and one lot of Brown Sheep Cotton Fleece in Robin's Egg Blue with enough to make my size if I also made short sleeves. The Main Line was so much softer (seriously, I don't know why they discontinued this yarn...it's wonderful!), and I started to imagine wearing the sweater in cream color, so I did some calculating and went with it.
Since it's a thicker yarn than called for (aran vs. worsted), I used a size larger needle, and made the XS size. I fully admit this might have been an ill-advised choice from the start. The bust measurement for the XS in the schematic is 31.5". Ahem. Not my size. But I started with the sleeves as a kind of a swatch and it seemed to be working out to be something approaching my size. Once I got a fair bit completed on the body, however, I realized that the lace pattern pulls in much more than I had bargained for, and started to make peace with the fact that this cardigan was not meant to be mine. Once it was complete, it was not quite an XS, but there were about 4 inches between the front edges when I tried it on. Bummer. No picture of my humiliation, sorry.
Then, it really started to be kismet. My very dear (and tiny!) friend got an AMAZING job and is re-entering the workforce part-time after taking a break for children for the past five years. I realized this sweater was meant to be hers. It's my "Congratulations and I'm SO Proud of You!" gift. It was actually finished a couple of weeks ago, but I wanted to surprise her so I sat on this post for a while--then I caved and told her about it on the phone the day before our big outing (to an awesome show and dinner for her job!). But oh well: she loves it, and of course I forgot to take a picture of her in it, so here it is anyway.
PS: The robin's egg blue Cotton Fleece I mentioned? It's going to be a Que Sera for me! Stay tuned. :)
Sunday, August 8, 2010
Finished: Butterfly Shrug
Other than the size and cable motif, I also modified the collar a bit--you can hardly see it in the photos because her hair covers it, but I did a little bitty shawl collar. I think if I were to do it over again, I would make the shawl collar a little bigger, but it's still cute as-is.
Tuesday, July 20, 2010
Finished and Christened: The Country Club Cardigan!
Before I reveal the final product, however, I want to share a few more things I learned from the project.
1. On the edge of a fabric, M1 increases will cause the edge to roll a lot more than kfab increases will. The rolling doesn't really bother me on this sweater, but I am filing that little tidbit away for future use. Exhibit A, showing the wrong side of the front edge of the cardi (the hem is at the foreground of the photo):

2. On a very long edge, a skinny i-cord edging will not stop the stockinette roll around the bottom of a piece--but a nice hot steamy iron will (provided it's a plant fiber, of course)! Exhibit B, the "after ironing" shot of the hem:

3. Knit Picks Simply Cotton Sport yarn shrinks. A lot. I knew it would--my swatch lost between 10 and 12 percent of the length--but it still surprised me. Why, I don't know...I must have been in denial. Haha. The length from underarm to hem, prewashing/drying, was nearly 20 inches. After? Right about 17 inches. But on the plus side, the yarn also becomes incredibly soft after a trip through the washer and dryer, so overall I think I am in love with this yarn.
4. I don't know why my short rows (which I used to add length to the fronts of the cardigan) look so much worse when I close the holes on the right side than when I do it on the wrong side. Can anyone tell me what my problem is? Exhibit C, short rows with holes closed on the knit side--ugh!:

Exhibit D, short rows with holes closed on the purl side--yay!:

Anyway, this has been quite the learning experience and I feel like I need a drumroll here, or something...here it is! My "Country Club Cardigan," so named because it reminds me of something someone much wealthier than I am might wear as a swimsuit coverup while lounging by the pool and wearing a large-brimmed hat, high wedge sandals, and sunglasses. I'll be wearing it to the grocery store, over my jeans, and with a toddler on my hip!

Monday, June 7, 2010
Finished: Dramatic Lace Wrap Cardigan
The pattern was really well-written. I followed the directions for the size 35 exactly, but there seemed to be one mistake: in the set up row for the second front piece, in order to get the fronts to match I had to reverse the stitch counts. If I had done it as written, the second front would have had the double lace panel at the top instead of the bottom. Also, I had to read the selvage edge instructions a couple of times, and I think I ended up reversing that too on the second side, so the top edges on both sides would be the same. Other than that, it was a wonderful pattern. Highly recommended.

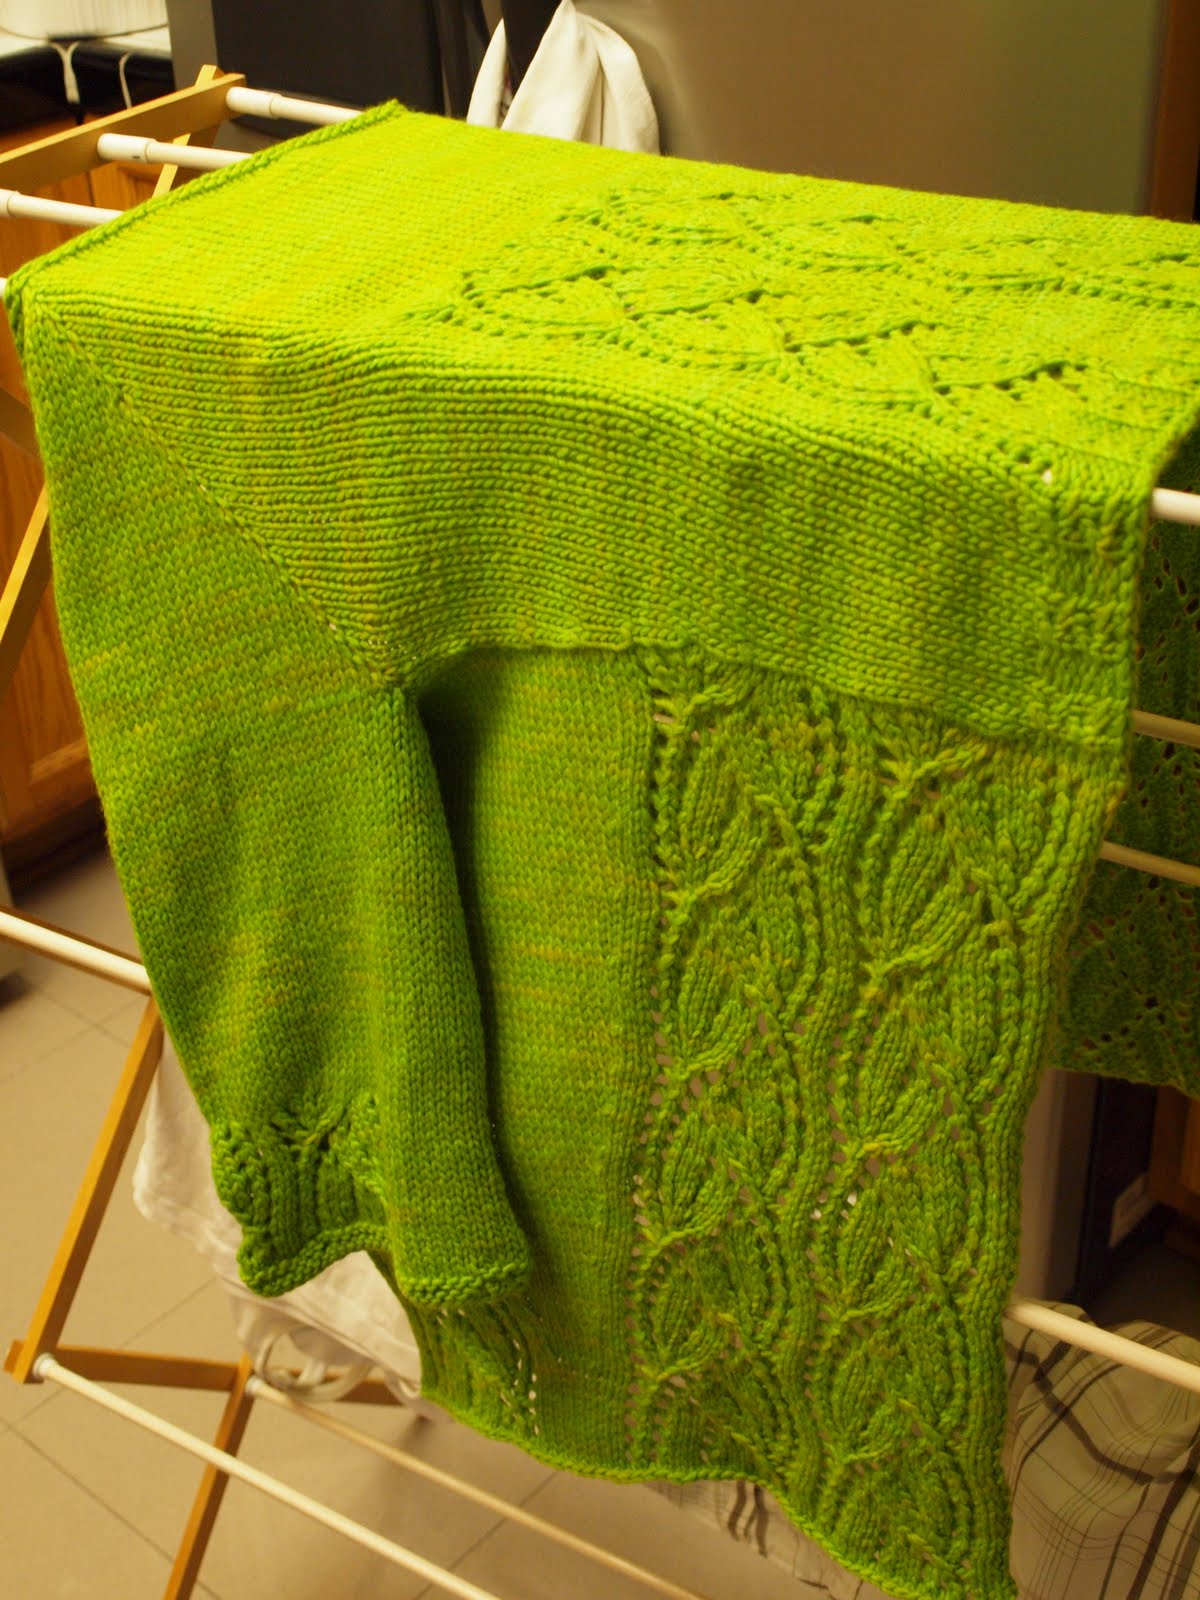
As with any lace project, blocking was a must. Right off the needles, the fronts were way too short, and kind of hung sadly while the back gapped outward, pushed back by the weight of the front. The lace pattern didn't stand out at all. I wasn't worried, though I did wonder if the back would keep gapping, because I know the power of blocking! Never doubt the power of blocking. I soaked the finished piece in a little Eucalan and warmish water, wrapped it in a towel and stuck it in the spin cycle of the washing machine for a minute or so, then pressed the rest of the excess water out between two fresh towels.
I was a little stumped as to how to block a seamless sweater whose fronts were longer than the width of the back, but I ended up pinning one side closed and the other open, then reversing that after it had dried for a day. Then, once it was nearly dry and the eyelets were staying open when the pins were removed, I laid the whole thing over a drying rack to finish letting all the moisture evaporate.

When I picked up the dry sweater for the first time, I could immediately feel the difference. The drape is fantastic, and the fronts now hang down perfectly, just like the pattern photo! I'm still not quite happy with how I blocked the sleeves...I'll be trying again on those, but I can tell this is going to be my instant fashion pick-me-up. Who can feel depressed or tired when wearing a sweater like this?


I substituted 4 skeins of 100purewool.com Single Ply Merino Worsted in Verde Manzana for the Knit Picks Swish Worsted called for, and it was a good fit for the pattern. I was able to get gauge perfectly. I actually like this yarn at a larger gauge better than I do at its recommended gauge...There are two skeins left over since I ordered six, so I am thinking maybe a Just Enough Ruffles by Laura Chau (pattern photo below by Cosmicpluto).

I also feel a Sweaterbabe kick coming on...I got the yarn (Sublime Angora Merino) and pattern for Cables and Lace Kimono for my birthday last year, so as soon as I finish a couple of other projects, that one is getting made!
Friday, May 7, 2010
Finished: Creature Comforts Cardi and 198 Yards of Heaven
This was knit with just over 4 skeins of Cascade 220, in Alki Beach (a discontinued beigey-gray)...the 5th skein was only needed for a few rounds of ribbing on one of the cuffs. I didn't make many modifications to the pattern: the cuffs are 1" longer than the pattern calls for, but other than that, it's just as written.Though I LOVE it now, there was an "Oh, bummer" moment right after I seamed it up and tried it on for the first time...I really didn't love how it fit me at that point. The bottom edge was not quite wide enough to hug my rear end without bunching up in the front--I'll confess I got a little lump in my throat, worried that it wasn't going to look as awesome as I had envisioned. I fiddled with it a little, and found that if I stretched it out on the bottom, there, it would hang just right! So I pulled out the steam iron and blocked the bottom out about 2 extra inches on each side of the cable panel, and when it was dry the next morning I was much happier with the fit. Making the next size up wouldn't really have solved this problem, because the top fit perfectly and I wouldn't have wanted extra width there. This photo shows where I stretched out the bottom edge to make it fit around the hips.
My other finished project is the 198 Yards of Heaven shawlette, a free pattern by Christy Verity that I found on Ravelry. I am trying to decide if I am a shawl person or not--I see so many beautiful shawls on blogs and on Ravelry, but I wasn't sure if I could pull one off. So, I decided to try knitting a small one, in worsted weight yarn, so the time committment wasn't too great if I didn't really wear it (this was cast-on to finished blocking in three days flat!). If I end up wearing this one a lot, I am going to try my hand at a larger, laceweight shawl!
Also, after my last post about hating varigated yarn I decided I should give the last couple of skeins I bought a while back one more chance to win me over. This is 3-ply worsted weight, hand-dyed yarn from 100purewool.com--a pretty good sub for Malabrigo, as I understand it. It's Uruguay merino which comes in several weights as a singles yarn, and as a 3-ply worsted. It is the softest yarn I have ever worked with, and it has the nicest sheen to it! If you haven't tried it, I would really recommend it; I have used it a lot. My favorites are their semi-solid colors. So beautiful!
This colorway is called Verdes II, and guess what? I like it! The colors do not distract from the lace work too much, and it didn't pool much at all. I modified the pattern just a little to use up just about every inch of one skein, 218 yards: I added an extra 1/2 repeat of the lace pattern (so, 3 total) and skipped two rows of the border pattern.
Now I will just have to see if I like wearing shawls! I decided this particular one is my little tribute to the TV show LOST. My husband and I have been working our way through the DVD sets in the evenings while we wait for each week's new episode...the blues and greens really evoke the jungle and the ocean around the Island, and the lace pattern reminds me of tropical leaves. Maybe I will wear it on the plane to Maui this summer. ;)